PDF files are always created using the print function, which can be found in the Export tab.

¶ PDF export (Print)
By default, the RED CAD APP always creates a PDF file and does not trigger physical printing on paper. Printing on paper is performed using the installed PDF software.
Automatic PDF output can be deactivated in order to access the installed printers and thereby trigger direct paper printing, for example → see Alternative print function (direct printing).
The Print button is only available if an existing print area exists.
If the button is not available, there is no print area or the wrong licence has been activated.
-
Open the Export tab
-
Click on Print settings
-
Print settings / Print dialogue box opens
-
Define your page using the available settings
-
Click on Set print area to generate the print area
-
Position the print area (red area) and confirm the position with left click
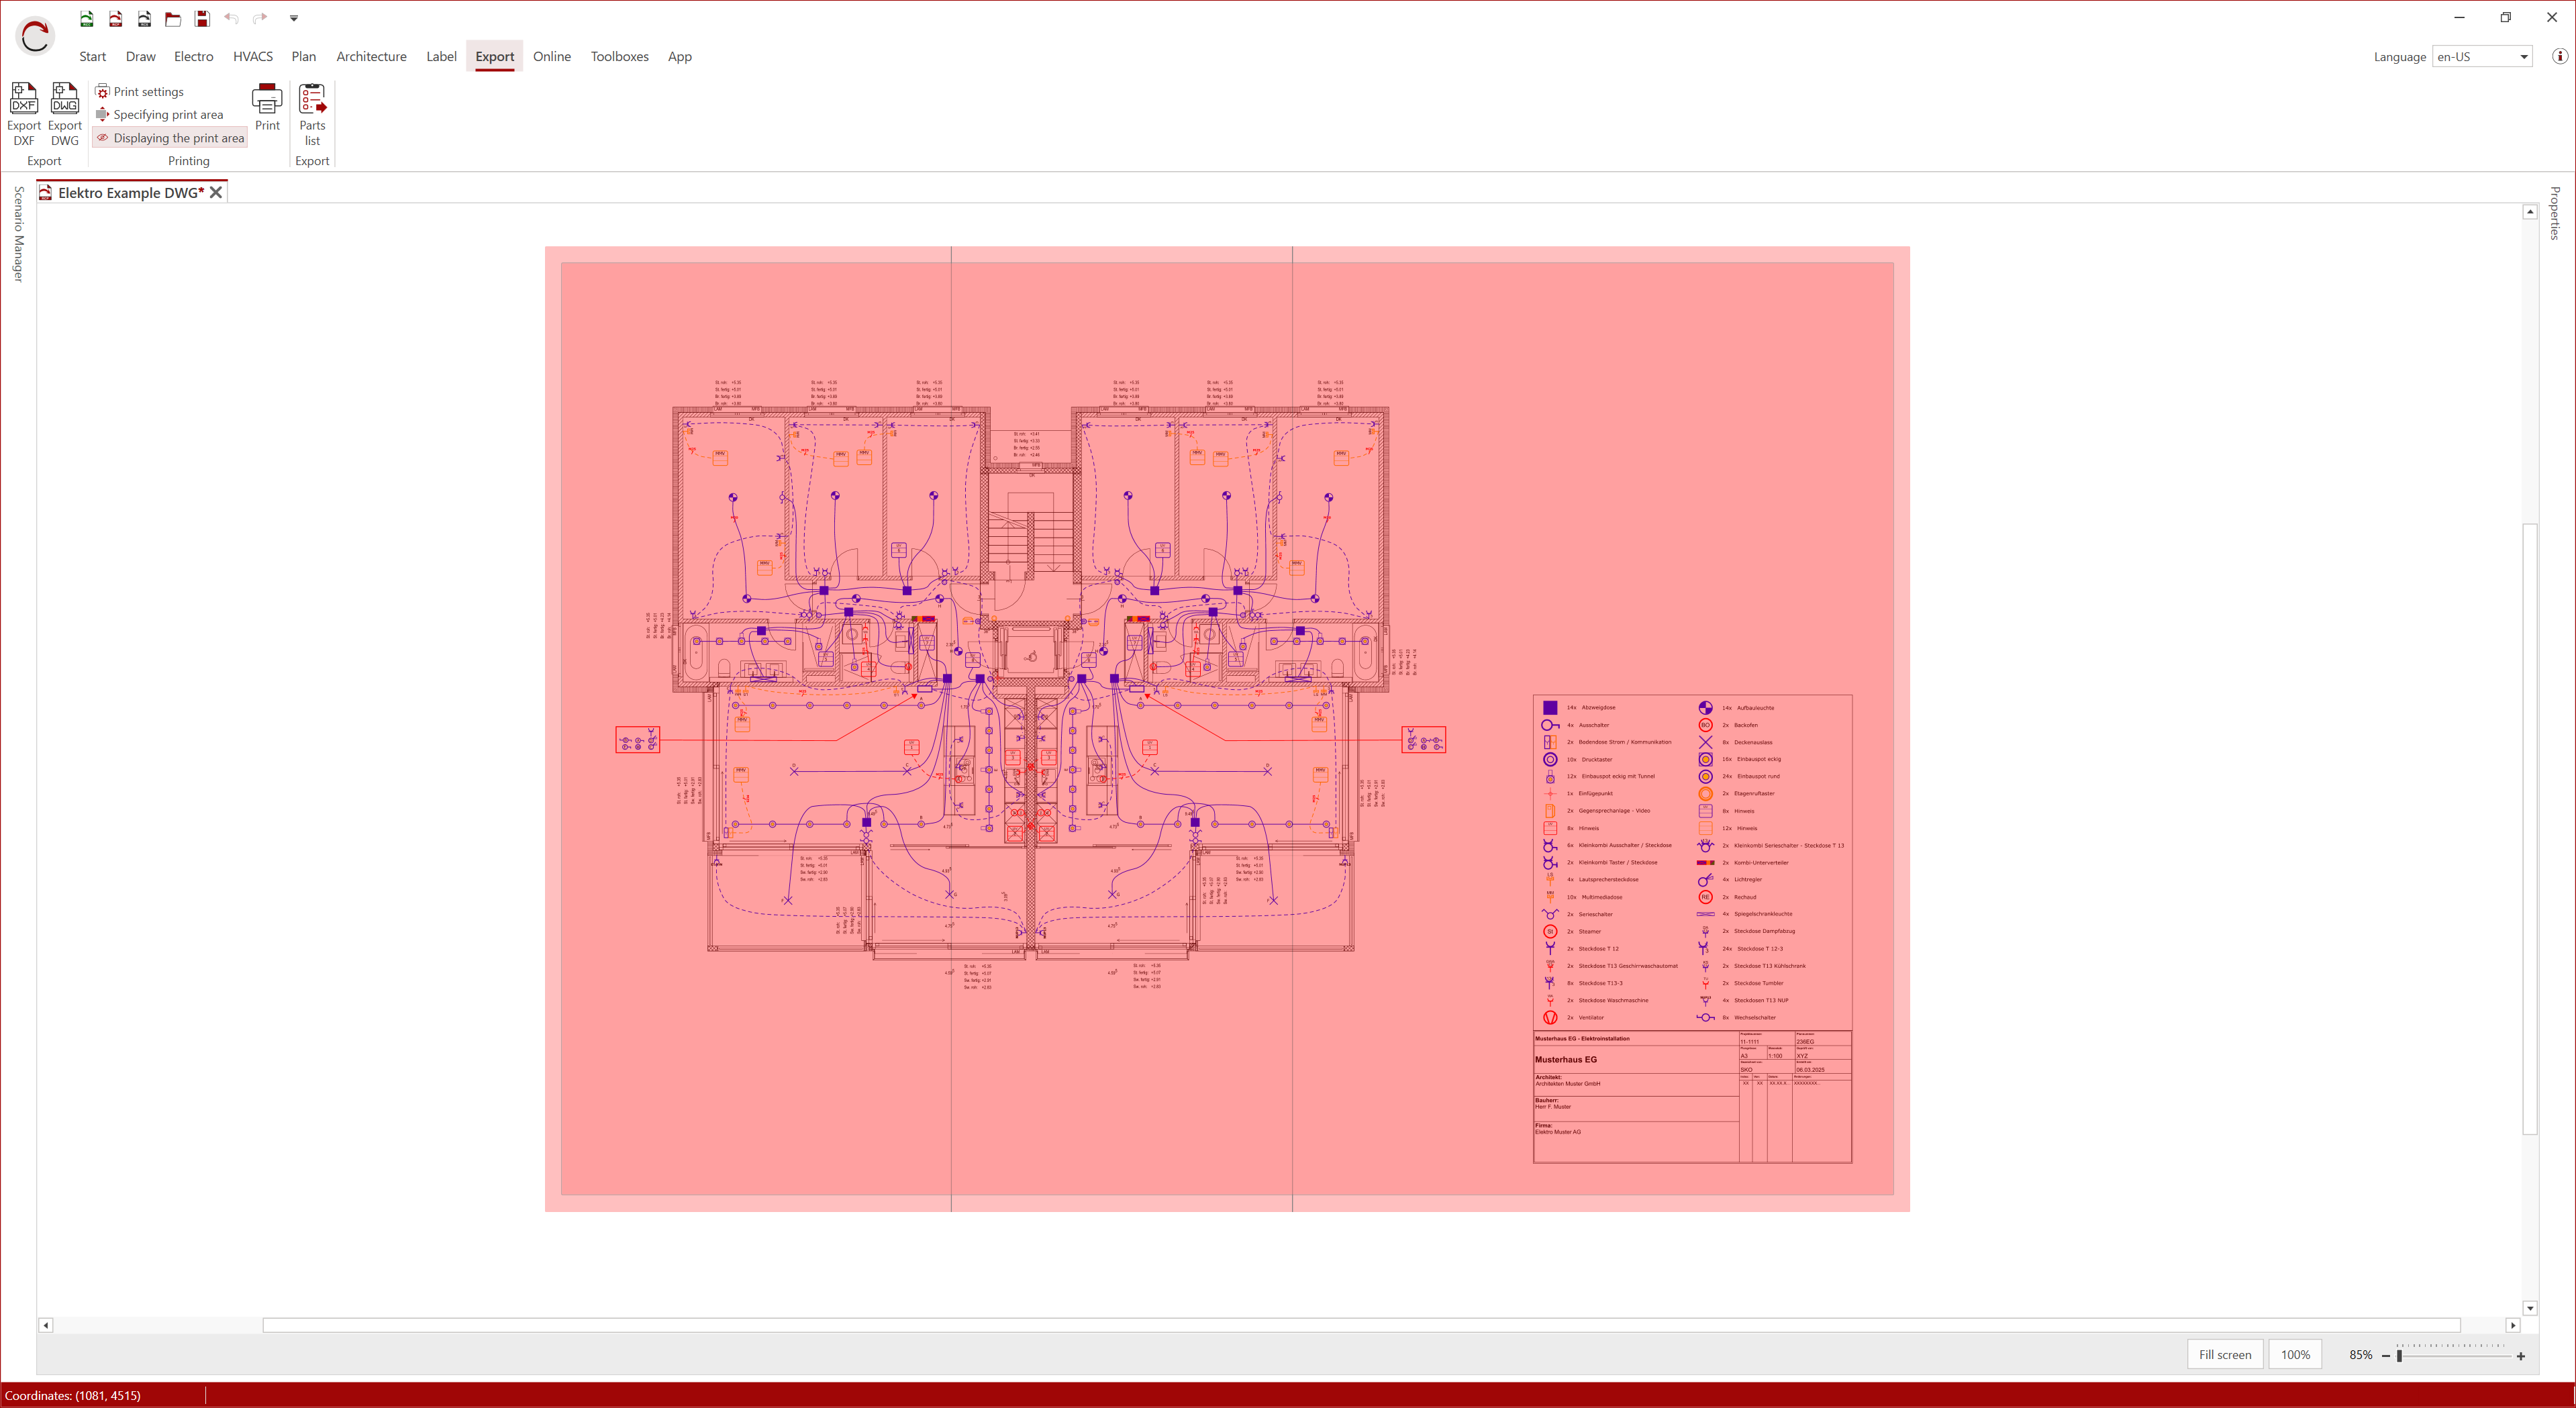
-
Click on the Print button in the Output tab to start printing
-
The PDF file is created in the background and your default PDF programme opens after a few seconds
-
Save the PDF file on your computer or print the PDF file using your printer/plotter with the default programme
If the PDF file is closed without saving, the file will be discarded and must be recreated.
¶ Alternative printing function (direct printing)
The alternative printing function (direct printing) allows you to select and use all printers installed on the operating system directly via the print dialogue. This includes both physical printers and virtual PDF printers.
This enables direct printing on paper.
¶ Activating the alternative printing function
The alternative print function is activated via Program Settings by unchecking PDF export active.
- Open the Main Menu via the RED CAD logo in the top left corner
- Select Program Settings
- In the General tab under the Various header, you will find the option PDF export active
- Remove the check mark (on the right)
- Click OK to confirm the settings
- Alternative print function is now enabled
¶ Printing with the alternative print function
The Print button is only available if an existing print area exists.
If the button is not available, there is no print area or the wrong licence has been activated.
-
Open the Output tab.
-
Click on Print settings.
-
The Print settings dialogue box opens.
-
Select the desired Printer
-
Define your page using the settings available in the dialogue box
-
Click on Set print area to generate the print area
-
Position the print area (red area) and confirm the position with a left click
-
Click on the Print button in the Output tab to start printing
-
Printing is processed in the background and sent to the selected printer
With virtual printers such as Microsoft Print to PDF, the saving process is triggered automatically after a few seconds.
With physical printers, printing starts as soon as the data has been transferred. Depending on the connection, the printing process may take longer.
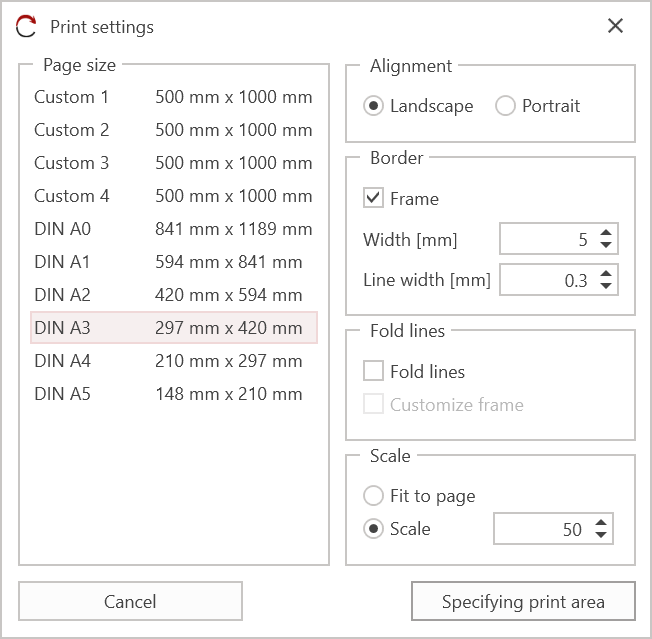
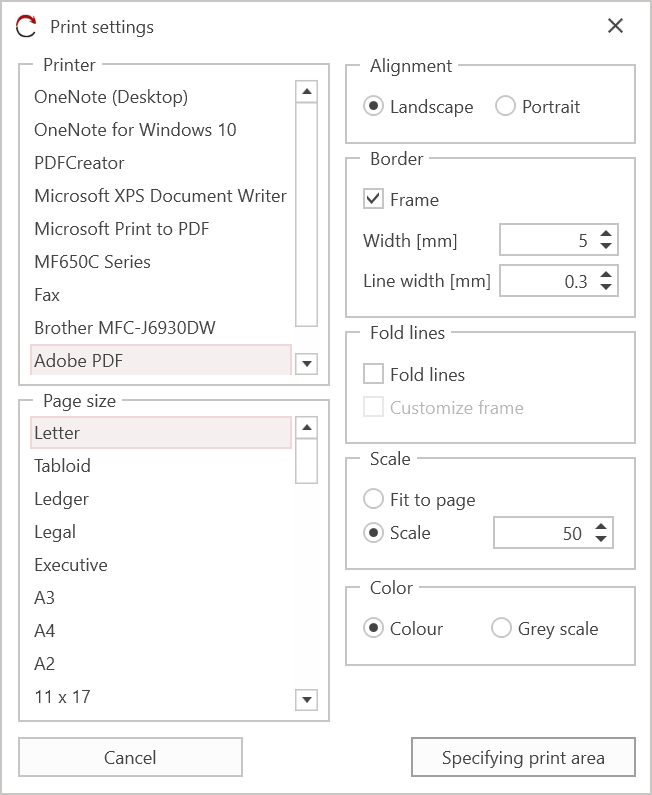
¶ Print settings
-
Printer: Allows you to select the printer. (Only available if the alternative print function is activated).
-
Page size: Allows you to select the page size. Custom page sizes can be defined. (Option is only available for automatic PDF output).
-
Orientation: Allows you to define the orientation of the page.
-
Frame: Defines whether a frame is printed around the plan. The width (distance from the page margin) and line thickness of the frame can be set. (Option only available when printing plan documents)
-
Fold lines: Allows you to create fold lines from page size A3 onwards. (Option only available when printing plan documents)
-
Scaling: Allows you to define whether the plan should be adapted to the paper format or printed at a specific scale. If you select scale, you can specify it. (Option only available when printing plan documents)
-
Colour: Allows you to select whether the printout is in colour or greyscale. (Only available if the alternative print function is activated).
Additional setting options for schematic / circuit diagram
-
Adjust page size: Should the schematic or circuit diagram be adjusted to the selected print page size. (Option is only available when printing schematics/circuit diagrams)
-
Grid: Enables printing of the displayed guidelines of the schematic/circuit diagram layout. (Option is only available when printing schematics/circuit diagrams)
-
Pages: Allows you to define which pages or page range is printed. (Option is only available when printing schematics/circuit diagrams)